Scikit image is a module that is used to do introductory image processing. Before we start let’s look at the description of a module. A module is a collection of a Python lines, classes, or functions. We can save complex and lengthy code inside different lines. To do this, we need to import files and use them in our environment. First we need to import our Scikit-image into our environment, like so.
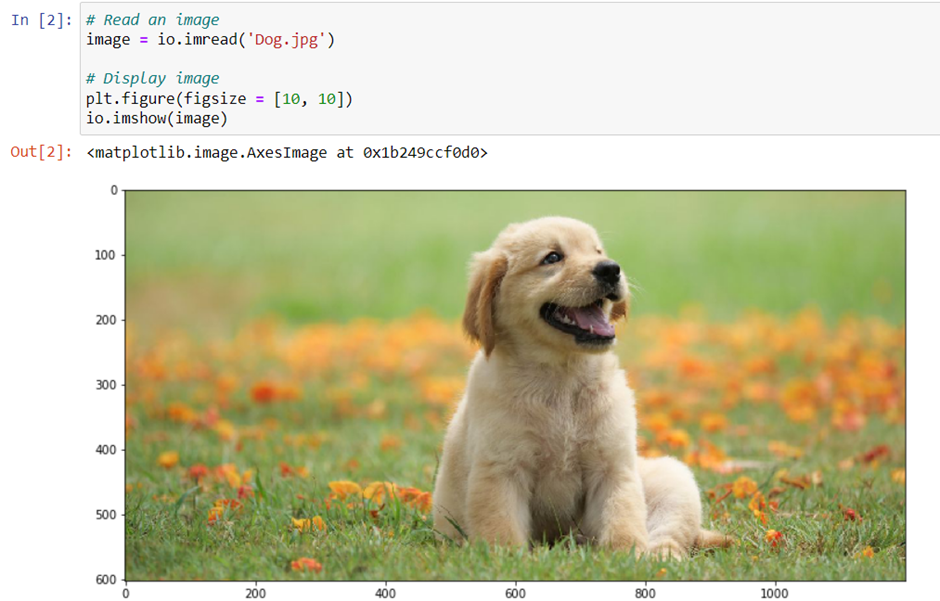
Let’s see how we can import into the python environment and view it there. We start by importing a module named skimage, which contains different image processing algorithm. To upload and view the image, we use a class from the skimage module called io. Inside the class, we use the imread function to upload and read an image; the function imshow is used to view the image. Let’s have a look at the code.
Getting image resolution
To get the resolution of the image, we use a built-in function called shape. After reading an image and converting it into array, we use the shape function to look at the resolution.
In the following code, you can see that we have an image with a resolution of 602 x 1200, and it has three channels(because it is in the RGB color format.)

Looking at the pixel values
Now that we know the resolution of the image, we may want to look at each pixel value. To do this, we save the numpy array in one line – in other words, we use one row to store all the pixel values. When you look at the code that follows. Here we have used Pandas. It is used for read, write and process various file formats.
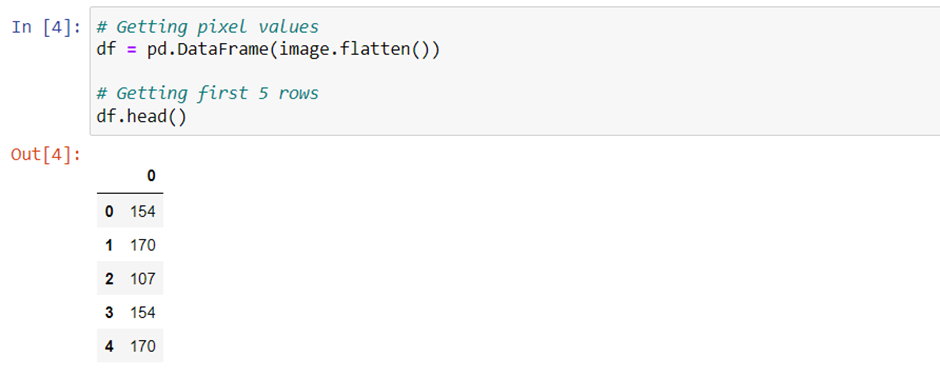
The flatten function is used to convert the three dimensions of an RGB image to a single dimention.
You can print the df variable to look at the data frame structure.
Converting color space
Suppose our image is in the RGB color space. We may want to convert it to different color formats. In this section we look at different conversions, then convert the image back to its original RGB format.
Before looking at the code, we must examine the function we will use for converting an image into different color formats, we need to use the class color, which is present in skimage module. Inside this class, we can use the following functions:
- Rgb2hsv
- Hsv2rgb
- Rgb2xyz
- Xyz2rgb
- Rgb2yuv
- Yuv2rgb
- Rgb2lab
- Lab2rgb
- Rgb2yiq
- Yiq2rgb
Also, we have to use one more module, called pylab. We import all the classes present inside pylab by using *. We use pylab to see different figures In different blocks. Then we use the function figure to display more than one image at a go. Let’s now look ath all the code and its output.
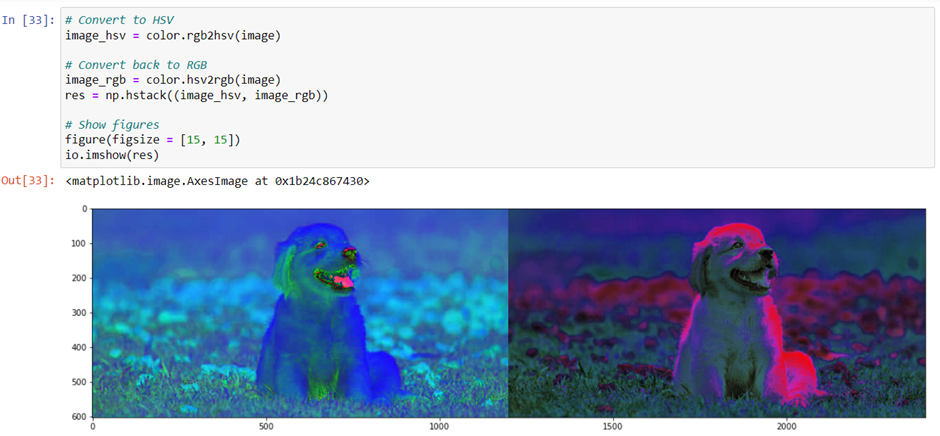
RGB to HSV and Vice Versa
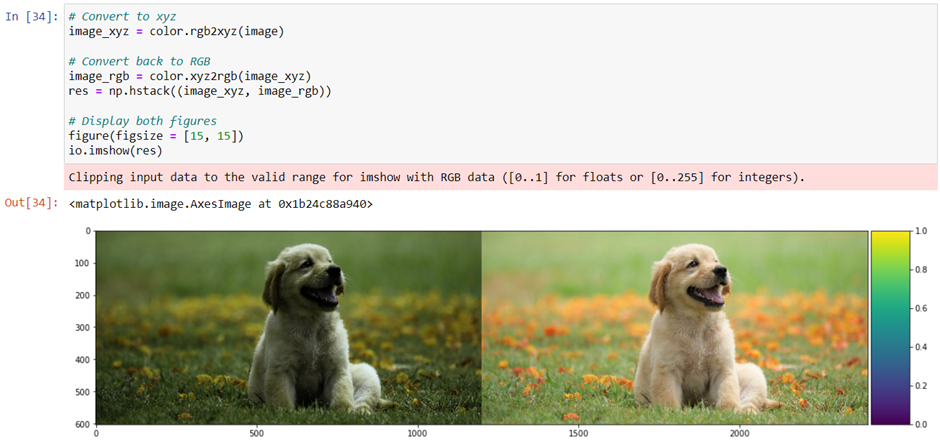
RGB to XYZ and Vice Versa
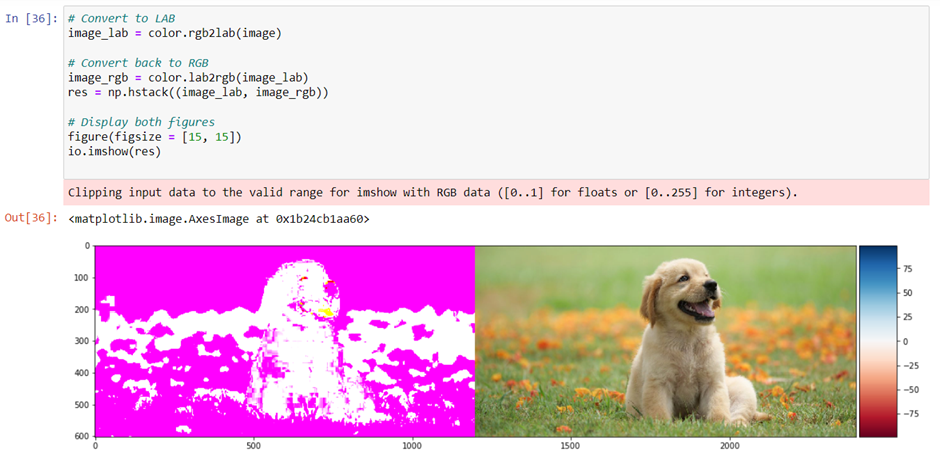
RGB to LAB and Vice Versa
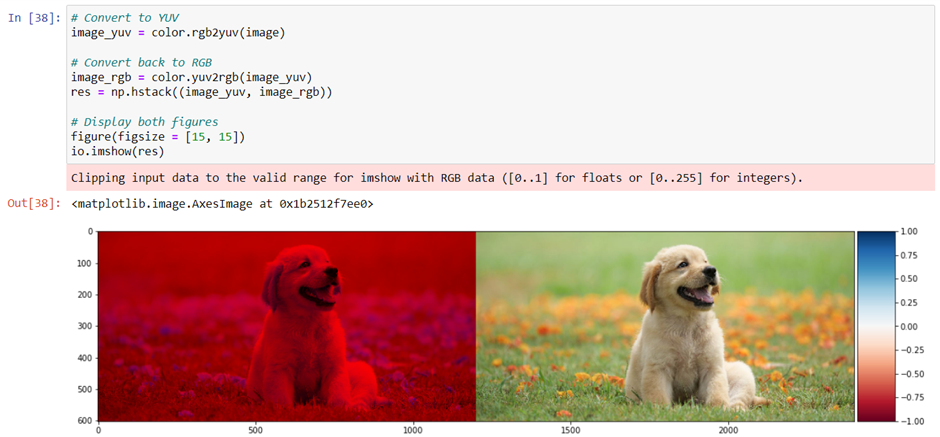
RGB to YUV and Vice Versa
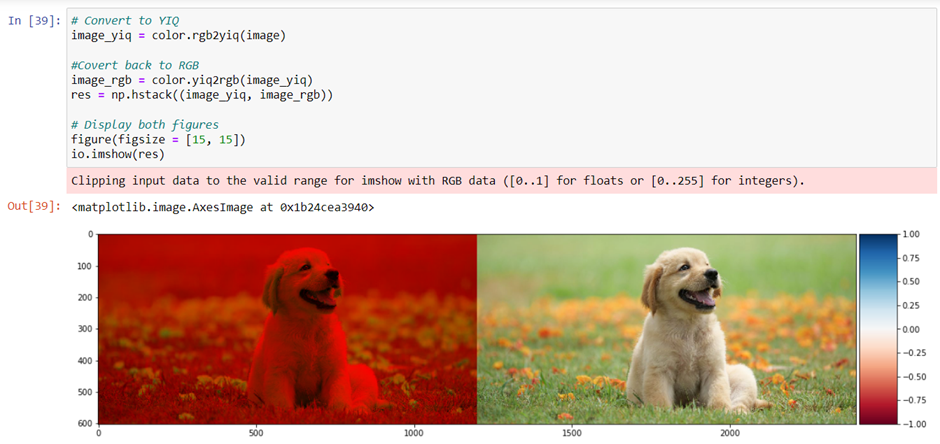
RGB to YIQ and Vice Versa
Saving an image
After every image analysis, we may want to save the image. To do this, we use the skimage io function called imsave. In the following code, the first argument includes the name of the file to which you want to savethe image; the second is the variable the contains the image.

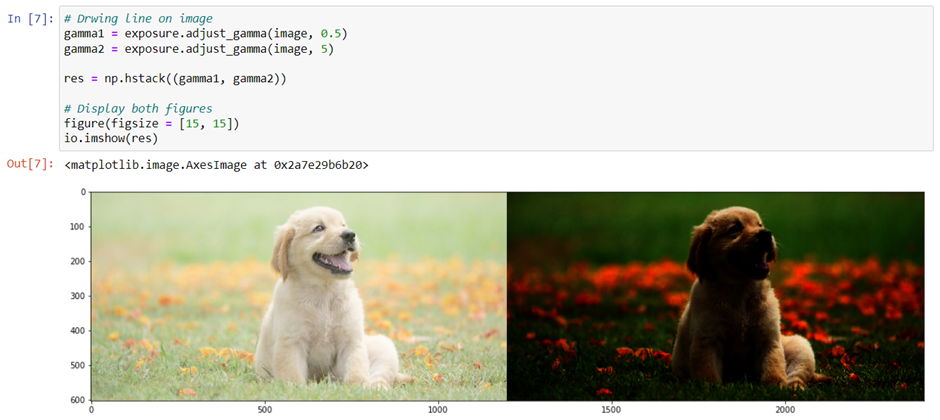
Doing Gamma Correlation
To perform gamma correlation of an image, based on the display instrument, we use exposure class in skimage. The exposure class contains a function called adjust_gamma, which we use to give an image as an input and the final gamma value that we want. In this way, we get a gamma-correlated image.
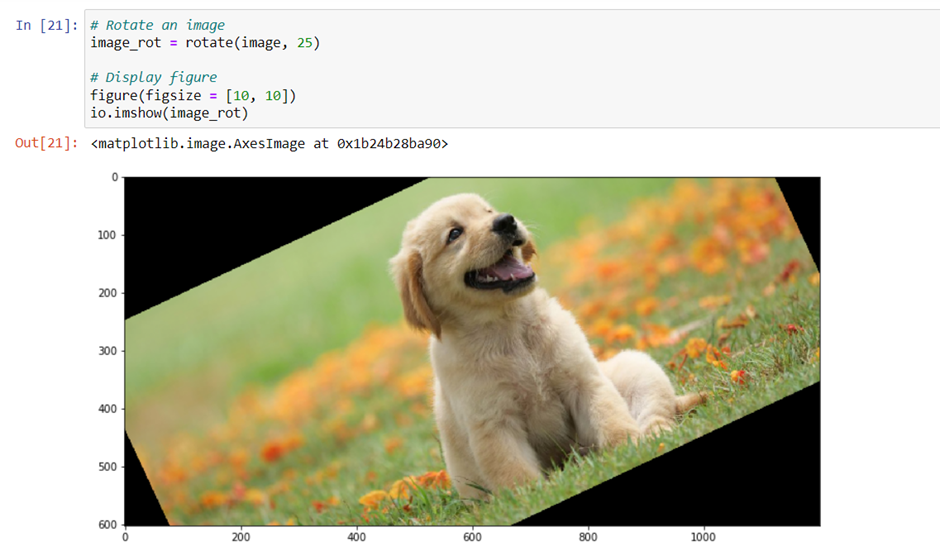
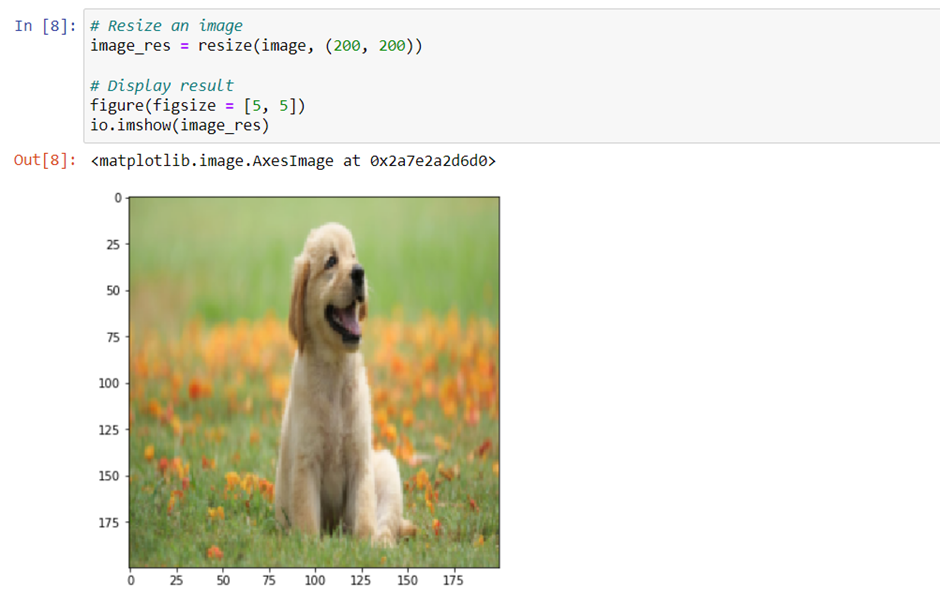
Rotating, shifting, and scaling images
Sometimes we may want to rotate an image or change its size. To do this, we use the transform class in the skimage module. Transform has two function: rotate and resize. Rotate takes the degree of rotation as its parameter: resize takes the new size as its parameter.