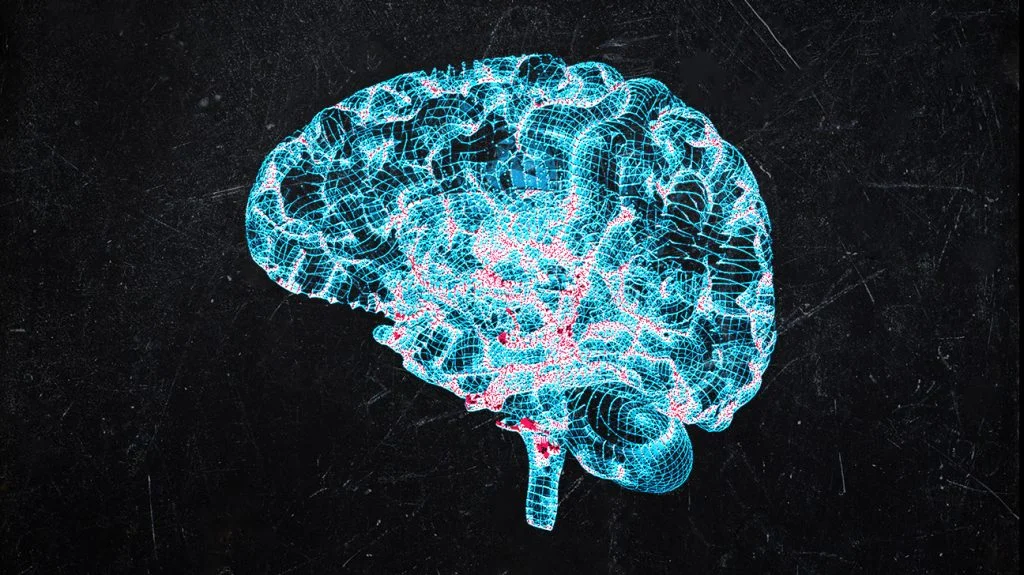
In this step-by-step tutorial we will walk through the step-by-step process of building Parkinson’s Disease detection using machine learning. Parkinson’s Disease is a neurodegenerative disorder that affects millions of people worldwide. Early detection of the disease is crucial for effective management and treatment. In this article, we will explore how machine-learning techniques can be employed to detect Parkinson’s Disease with high accuracy. You can download data Data set from here
Step 1: Importing necessary libraries
To begin, we import the necessary libraries for our machine learning task. We import numpy and pandas for data manipulation, scikit-learn for the machine learning algorithms, and specifically import modules for support vector machines (SVM), accuracy scoring, data preprocessing, and data splitting.
# Importing necessary libraries
import numpy as np
import pandas as pd
from sklearn import svm
from sklearn.metrics import accuracy_score
from sklearn.preprocessing import StandardScaler
from sklearn.model_selection import train_test_split
Step 2: Reading and Exploring the Dataset
Next, we read the dataset from a CSV file named ‘parkinson’s.csv’ using pandas. We display the first few rows of the dataset to get an initial understanding of its structure. We then explore the dataset further by displaying information about its columns and descriptive statistics.
# Read the dataset
data = pd.read_csv('parkinsons.csv')

# Display the first few rows of the dataset
data.head()

# Display information about the dataset
data.info()

# Display descriptive statistics of the dataset
data.describe()
Step 3: Preprocessing the Dataset
Before building our model, we need to preprocess the dataset. We first check the shape of the dataset to understand the number of instances and features. Then, we check for any missing values in the dataset to ensure data integrity. We also analyze the distribution of the target variable (‘status’) by counting the number of instances for each value. Additionally, we calculate the mean values for each category in the ‘status’ column to gain insights into the data.
# Check the shape of the dataset
data.shape

# Check for any missing values in the dataset
data.isnull().sum()

# Count the number of instances for each value in the 'status' column
data['status'].value_counts()

# Calculate the mean values for each category in the 'status' column
data.groupby('status').mean()
Step 4: Splitting the Dataset
To evaluate the performance of our model, we split the dataset into training and testing sets. We use the train_test_split function from scikit-learn to randomly divide the data. In this case, we allocate 80% of the data for training and 20% for testing. This will make sure that we have separate data to train the model and evaluate its accuracy.
# Split the dataset into input features (X) and target variable (y)
X = data.drop(columns=['name', 'status'], axis=1)
y = data['status']

# Split the data into training and testing sets
X_train, X_test, y_train, y_test = train_test_split(X, y, test_size=0.2, random_state=2)

# Print the shape of the training and testing sets
print(X_train.shape)
print(X_test.shape)
Step 5: Data Standardization
To improve the performance of our machine learning model, we standardize the training and testing data using the StandardScaler from scikit-learn. Standardization involves transforming the data to have zero mean and unit variance. This step is important as it brings all features to a common scale, preventing any one feature from dominating the model training process.
# Standardize the training and testing data using StandardScaler
ss = StandardScaler()
ss.fit(X_train)
X_train = ss.transform(X_train)
X_test = ss.transform(X_test)

# Print the standardized training and testing data
print(X_train)
print(X_test)
Step 6: Building the Support Vector Classifier Model
We create a Support Vector Classifier (SVC) model with a linear kernel. Support Vector Machines are powerful machine learning algorithms commonly used for classification tasks. In this case, the SVC model will learn to distinguish between instances with and without Parkinson’s Disease based on the provided features.
# Create a Support Vector Classifier model with a linear kernel
model = svm.SVC(kernel='linear')

# Train the model using the training data
model.fit(X_train, y_train)
Step 7: Training and Evaluating
the Model We train the SVC model using the training data. The model learns patterns and relationships between the features and the target variable. Once trained, we predict the target variable for both the training and testing data. We calculate the accuracy of the model on both sets using the accuracy_score function from scikit-learn. The accuracy score measures the proportion of correctly classified instances.
# Predict the target variable for the training data
X_train_pred = model.predict(X_train)

# Calculate the accuracy of the model on the training data
train_data_acc = accuracy_score(y_train, X_train_pred)

# Print the accuracy of the model on the training data
print('Accuracy of training data:', train_data_acc)

# Predict the target variable for the testing data
X_test_pred = model.predict(X_test)

# Calculate the accuracy of the model on the testing data
test_data_acc = accuracy_score(y_test, X_test_pred)

# Print the accuracy of the model on the testing data
print('Accuracy of testing data:', test_data_acc)
Step 8: Implementing a Predictive System
To make practical use of our trained model, we implement a predictive system. We define input data that represents the feature values for an individual. We preprocess the input data by transforming it using the same StandardScaler instance that we used on the training and testing data. Finally, we use the trained model to predict the presence or absence of Parkinson’s Disease based on the input data. We print the prediction result, indicating whether the disease is found or not.
# Predictive system

# Define input data for prediction
input_data = (169.77400, 191.75900, 151.45100, 0.01568, 0.00009, 0.00863, 0.00946, 0.02589, 0.08143, 0.82100, 0.03804, 0.05426, 0.08808, 0.11411, 0.07530, 12.35900, 0.561610, 0.793509, -3.297668, 0.414758, 3.413649, 0.457533)
input_data_np = np.asarray(input_data)
input_data_re = input_data_np.reshape(1, -1)
s_data = ss.transform(input_data_re)

# Make prediction using the trained model
pred = model.predict(s_data)
print(pred)

# Print the prediction result
if pred[0] == 0:
    print("No Parkinson's Disease Found")
else:
    print("Parkinson's Found")
After executing above code you get this output:

# Define another input data for prediction
input_data = (158.21900, 442.55700, 71.94800, 0.00476, 0.00003, 0.00214, 0.00207, 0.00642, 0.01458, 0.14800, 0.00606, 0.00747, 0.01312, 0.01818, 0.01554, 26.35600, 0.450798, 0.653823, -6.051233, 0.273280, 2.640798, 0.170106)
input_data_np = np.asarray(input_data)
input_data_re = input_data_np.reshape(1, -1)
s_data = ss.transform(input_data_re)

# Make prediction using the trained model
pred = model.predict(s_data)
print(pred)

# Print the prediction result
if pred[0] == 0:
    print("No Parkinson's Disease Found")
else:
    print("Parkinson's Found")
After executing above code you get this output:

Step 9: Conclusion
In this article, we have demonstrated the process of detecting Parkinson’s Disease using machine learning techniques. By building a Support Vector Classifier model and training it on a carefully preprocessed dataset, we achieved accurate predictions. Early detection of Parkinson’s Disease is vital for timely intervention and management. With further research and refinement, machine learning models can assist medical professionals in diagnosing and treating this complex disorder.
If you found this article helpful and insightful, I would greatly appreciate your support. You can show your appreciation by clicking on the button below. Thank you for taking the time to read this article.
Popular Posts
- From Zero to Hero: The Ultimate PyTorch Tutorial for Machine Learning Enthusiasts
- Day 3: Deep Learning vs. Machine Learning: Key Differences Explained
- Retrieving Dictionary Keys and Values in Python
- Day 2: 14 Types of Neural Networks and their Applications