Retrieval-augmented generation (RAG) systems are now widely used in artificial intelligence (AI) to process basic inquiries and produce contextually relevant answers. However, solutions that expand beyond these retrieval capabilities are required as the need for increasingly complex AI applications increases. AI agents are self-governing entities capable of performing intricate, multi-step activities, maintaining state throughout interactions, and dynamically adapting to new information. It is noted that every two out of three (67%) customers become furious when customer care cannot promptly address their problems.
The creation of AI agents has become a top priority for numerous sectors as artificial intelligence gains traction worldwide. Building AI agents with LangGraph is now made easier by LangGraph, a powerful framework that enables programmers to create complex multi-agent systems. This blog will provide a detailed guide on how to build AI agents with LangGraph to help you develop your own AI apps.
What are AI Agents?
An AI agent is a software application that can interact with its surroundings, gather information, and use that information to carry out autonomous actions and achieve preset objectives. This Retrieval-augmented generation (RAG) based AI system can determine the optimal course of action to accomplish the goals specified by humans. Take, for instance, an AI contact centre agent who aims to answer customer questions. The agent will automatically ask the customer various inquiries, consult internal documents for information, and then provide a solution. Based on the customer’s answer, it decides whether it can address the query independently or refer it to a human.
AI agents in LangGraph systems are logical entities that make decisions based on observations and data to achieve the best performance and outcomes. Examples of AI agents include chatbots, self-driving cars, and administrative support tools.
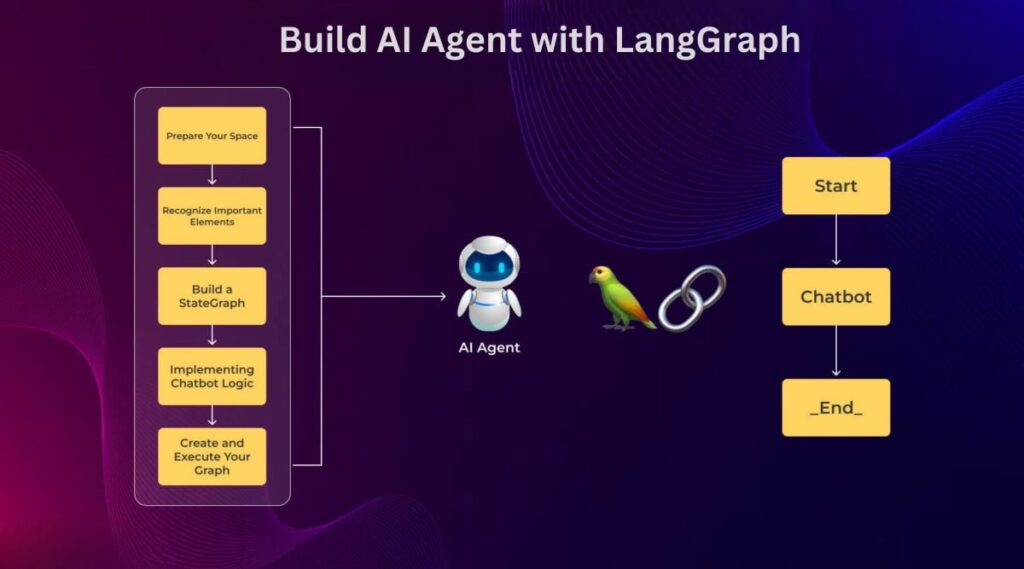
Steps to Build AI Agents With LangGraph
Here is a step-by-step guide to creating an agent that can help customers understand financial advantages while qualifying leads for the sales team by collecting important data like monthly electricity expenditures. Follow these steps:
Step 1: Prepare Your Space
The first step in creating an AI agent using LangGraph is configuring your development environment. This involves setting up all necessary dependencies and relevant libraries. Preparing for development is an initial step in building an AI agent with LangGraph. This includes creating the necessary prerequisites in the form of dependencies and libraries.
You will also need to set your API keys for each of the language models you intend to use. Ensuring that the required LLMs are accessible to provide answers for your application is critical. To proceed with your Python script, provide your API key by installing the required dependencies and libraries. Specifying the API keys for any language models is essential. When running your Python script, include your API key. This involves installing the dependencies and libraries needed for the system to function optimally.
Step 2: Recognise Important Elements
Before starting to code, familiarise yourself with the states, nodes, and edges of LangGraph, described below. States help the agent remember past interactions by depicting its current environment. A node is a small operation or calculation to be performed, which can either contain the original algorithm or a result from the LLM database. These nodes are connected by edges that define the data flow and enable complex interactions within the structure of your agent.
Step 3: Build a StateGraph
Once you have clarified the components, construct a StateGraph. Create a structure that demonstrates your AI agent as a state machine. Start with a StateGraph object that will control the states during its interaction. Here is an example:
from langgraph.graph import START
from typing import Annotated, TypedDict

class State(TypedDict):
    messages: Annotated[list, add_messages]

state_graph = graph_builder(State)
This configuration can help you store context while communicating with your bot.
Step 4: Implementing Chatbot Logic
Next, include your logic in an AI agent based on the StateGraph you developed. Design a function that processes user inputs via an LLM and generates responses accordingly. To maintain context throughout a conversation, append new messages onto a state. For example:
def chatbot(state: State):
    response = llm.invoke(state['messages'])  # Use the most recent messages to call the LLM.
    state['messages'].append(response)
    return {"messages": state['messages']}  # Add a new answer to the state.

graph_builder.add_node("chatbot", chatbot)
Thanks to your reasoning, your agent will be able to react intelligently based on past interactions.
Step 5: Create and Execute Your Graph
Define your nodes and edges, and use Python to create your graph.
graph = graph_builder.compile()
You can now use your AI agent in an interactive loop, where it constantly accepts input from the user and produces an answer based on the established logic. Add a loop to accept user input until the user chooses to quit:
while True:
    user_input = input("User: ")
    if user_input.lower() in ["quit", "exit"]:
        print("Goodbye!")
        break
    for event in graph.stream({"messages": [user_input]}):
        for value in event.values():
            print("Assistant:", value["messages"][-1])
This loop will enable dynamic user interaction with your AI agent, providing a seamless conversational experience.
Conclusion
Building AI agents with LangGraph is a powerful way to create intelligent applications capable of complex, autonomous actions. By following this guide, you can develop AI agents that can interact with users, process information, and provide meaningful responses in a conversational manner.